Welcome!

We are The Ultimate Survival Companion and our mission is to provide our readers with the most comprehensive and up-to-date information on survival, everyday carry, prepping, and other skills for emergency situations. We aim to empower our readers with the knowledge and tools they need to be prepared for any situation that may arise. Our goal is to create a community of like-minded individuals who share a passion for self-reliance and preparedness
Join Our Newsletter for exclusive content, updates, offers, and a free PDF of the first chapter of the book! Enter your name and email below and click subscribe. It’s that easy!
Showing posts with label Solar. Show all posts

Sunday, November 5, 2023

Make The Government Pay YOU to Switch to Solar!


Welcome to The Ultimate Survival Companion! Are you considering switching to solar power? If so, you’re in the right place! In this article, we’ll discuss the various incentives available for solar power in the United States, the United Kingdom, and Canada. We’ll also provide an overview of the Federal Solar Tax Credit, which is the most significant incentive offered by the US government. Additionally, we’ll cover other incentives such as state and local tax credits, net metering, rebates, grants, and sales tax exemptions. Finally, we’ll provide some tips on how to determine your eligibility for these incentives and how to consult with a professional tax advisor to make the most of them. By the end of this article, you’ll have a better understanding of the benefits of solar power and how you can take advantage of the incentives available to you. Let’s get started!


The Federal Government offers incentives to encourage the adoption of solar power. The most significant incentive is the Federal Solar Tax Credit. This tax credit is a dollar-for-dollar reduction in the amount of income tax you would otherwise owe. It can be claimed on federal income taxes for a percentage of the cost of a solar PV system paid for by the taxpayer. The installation of the system must be complete during the tax year. Solar PV systems installed in 2020 and 2021 are eligible for a 26% tax credit. In August 2022, Congress passed an extension of the ITC, raising it to 30% for the installation of which was between 2022-2032. (Systems installed on or before December 31, 2019 were also eligible for a 30% tax credit.) It will decrease to 26% for systems installed in 2033 and to 22% for systems installed in 2034. The tax credit expires starting in 2035 unless Congress renews it. There is no maximum amount that can be claimed .

It is important to note that this is a general overview of the Federal Solar Tax Credit. or more detailed information, please refer to the Department of Energy’s Homeowner’s Guide to the Federal Tax Credit for Solar Photovoltaics . This guide provides an overview of the federal investment tax credit for residential solar photovoltaics (PV). It does not constitute professional tax advice or other professional financial guidance and may change based on additional guidance from the Treasury Department. Please see their published Fact Sheet for additional information .

If you are considering switching to solar power, it is recommended that you consult with a professional tax advisor to determine your eligibility for the Federal Solar Tax Credit and other incentives that may be available to you .
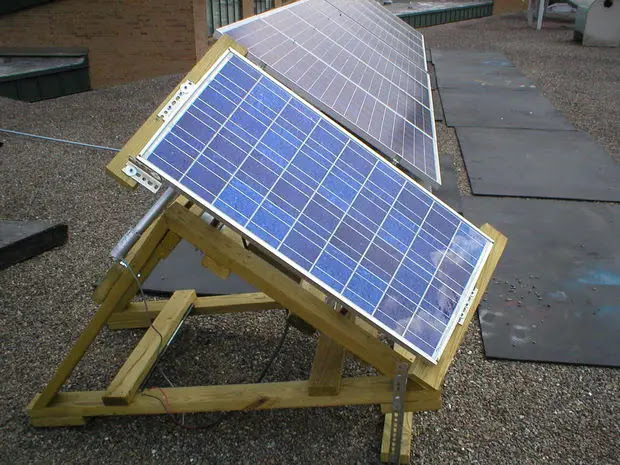
In addition to the Federal Solar Tax Credit, there are other incentives available for switching to solar power. These incentives vary by state and utility company. Some of the most common incentives include:

  1. State and Local Tax Credits: Many states offer tax credits for installing solar panels. These credits can be used in addition to the Federal Solar Tax Credit .

  2. Net Metering: Net metering is a billing arrangement that allows solar panel owners to receive credit for excess electricity they generate and send back to the grid. This credit can be used to offset the cost of electricity they consume when their solar panels are not generating enough electricity .

  3. Rebates: Some utility companies offer rebates to customers who install solar panels. These rebates can help offset the upfront cost of installing solar panels .

  4. Grants: Some states offer grants to homeowners who install solar panels. These grants can help offset the upfront cost of installing solar panels .

  5. Sales Tax Exemptions: Some states offer sales tax exemptions for solar panel installations. This can help reduce the overall cost of installing solar panels 4.

It is important to note that these incentives vary by state and utility company. It is recommended that you consult with a professional tax advisor to determine which incentives are available to you .
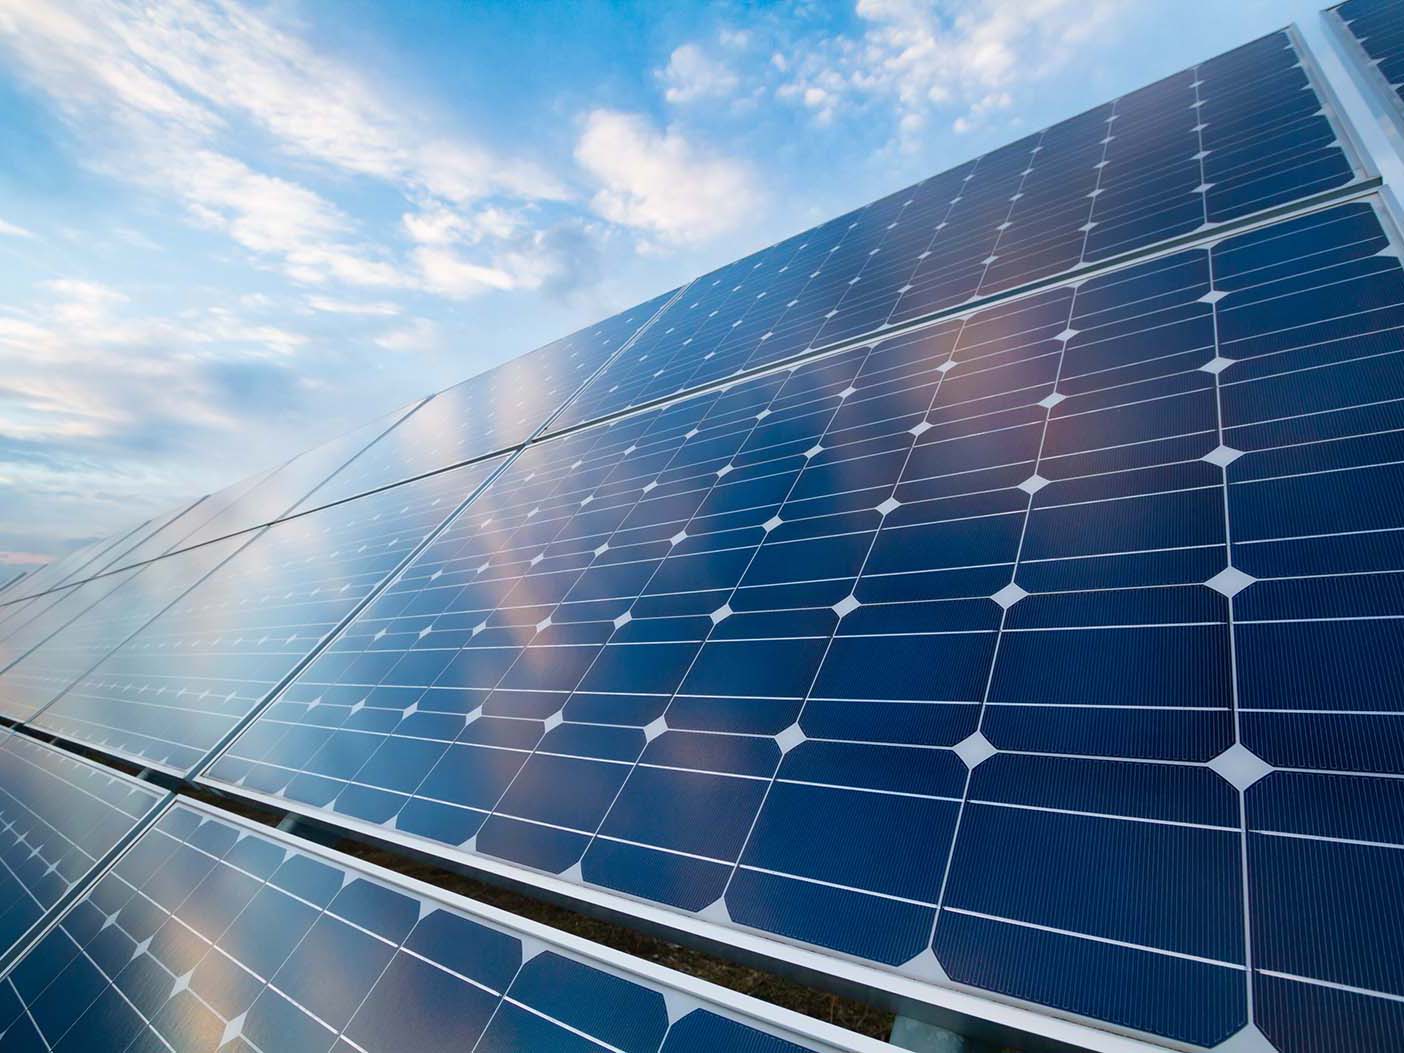

Grants for installation: There are several grants available for solar power. The U.S. Department of Energy (DOE) Solar Energy Technologies Office (SETO) supports funding opportunities on photovoltaics, concentrating solar-thermal power, systems integration, technology to market, and soft costs projects. These funding opportunities encourage collaborative partnerships among industry, universities, national laboratories, federal, state, and local governments and non-government agencies and advocacy groups. Solicitations may include financial or technical assistance .


In the UK, there are two grants that may help you buy solar panels for your home: the Energy Company Obligation scheme (ECO4) and the Home Upgrade Grant. ECO4 can provide up to £14,000 towards energy-saving initiatives for your home if you qualify..

The Canadian government has also announced a grant for homeowners to make energy-efficient retrofits to their primary residences. Homeowners will be able to receive grants of up to $5,000 to make energy-efficient retrofits to their primary residences, and up to $600 to help with the cost of home energy evaluations .

I hope this information helps!


The Federal Government offers incentives to encourage the adoption of solar power. The most significant incentive is the Federal Solar Tax Credit. This tax credit is a dollar-for-dollar reduction in the amount of income tax you would otherwise owe. It can be claimed on federal income taxes for a percentage of the cost of a solar PV system paid for by the taxpayer. The installation of the system must be complete during the tax year. Solar PV systems installed in 2020 and 2021 are eligible for a 26% tax credit. In August 2022, Congress passed an extension of the ITC, raising it to 30% for the installation of which was between 2022-2032. (Systems installed on or before December 31, 2019 were also eligible for a 30% tax credit.) It will decrease to 26% for systems installed in 2033 and to 22% for systems installed in 2034. The tax credit expires starting in 2035 unless Congress renews it. There is no maximum amount that can be claimed .

It is important to note that this is a general overview of the Federal Solar Tax Credit. or more detailed information, please refer to the Department of Energy’s Homeowner’s Guide to the Federal Tax Credit for Solar Photovoltaics . This guide provides an overview of the federal investment tax credit for residential solar photovoltaics (PV). It does not constitute professional tax advice or other professional financial guidance and may change based on additional guidance from the Treasury Department. Please see their published Fact Sheet for additional information .

If you are considering switching to solar power, it is recommended that you consult with a professional tax advisor to determine your eligibility for the Federal Solar Tax Credit and other incentives that may be available to you .

In addition to the Federal Solar Tax Credit, there are other incentives available for switching to solar power. These incentives vary by state and utility company. Some of the most common incentives include:

  1. State and Local Tax Credits: Many states offer tax credits for installing solar panels. These credits can be used in addition to the Federal Solar Tax Credit .

  2. Net Metering: Net metering is a billing arrangement that allows solar panel owners to receive credit for excess electricity they generate and send back to the grid. This credit can be used to offset the cost of electricity they consume when their solar panels are not generating enough electricity .

  3. Rebates: Some utility companies offer rebates to customers who install solar panels. These rebates can help offset the upfront cost of installing solar panels .

  4. Grants: Some states offer grants to homeowners who install solar panels. These grants can help offset the upfront cost of installing solar panels .

  5. Sales Tax Exemptions: Some states offer sales tax exemptions for solar panel installations. This can help reduce the overall cost of installing solar panels 4.

It is important to note that these incentives vary by state and utility company. It is recommended that you consult with a professional tax advisor to determine which incentives are available to you .


Grants for installation: There are several grants available for solar power. The U.S. Department of Energy (DOE) Solar Energy Technologies Office (SETO) supports funding opportunities on photovoltaics, concentrating solar-thermal power, systems integration, technology to market, and soft costs projects. These funding opportunities encourage collaborative partnerships among industry, universities, national laboratories, federal, state, and local governments and non-government agencies and advocacy groups. Solicitations may include financial or technical assistance .

In the UK, there are two grants that may help you buy solar panels for your home: the Energy Company Obligation scheme (ECO4) and the Home Upgrade Grant. ECO4 can provide up to £14,000 towards energy-saving initiatives for your home if you qualify..

The Canadian government has also announced a grant for homeowners to make energy-efficient retrofits to their primary residences. Homeowners will be able to receive grants of up to $5,000 to make energy-efficient retrofits to their primary residences, and up to $600 to help with the cost of home energy evaluations .

I hope this information helps!


Sunday, August 20, 2023

Clean Water From The Power Of The Sun!

 A solar still is a device that uses the power of the sun to produce clean water from various sources, such as seawater, contaminated water, or even plants. Solar stills work by mimicking the natural water cycle, where water evaporates, condenses, and falls as rain. In this article, we will explain how solar stills work, why you should use them, and how to build one at home with simple materials.


How Solar Stills Work

A solar still consists of a transparent cover, such as a sheet of plastic or glass, that is placed over a container of water or moist soil. The cover allows the sunlight to pass through and heat up the water or soil inside. As the water evaporates, it rises and hits the cooler surface of the cover, where it condenses into droplets. The droplets then slide down the cover and collect in a separate container or a tube attached to the cover. The process of evaporation and condensation purifies the water, leaving behind any impurities, such as salt, dirt, bacteria, or chemicals.

There are different types of solar stills, depending on the design and the source of water. Some common types are:

  • Pit still: A pit still is made by digging a hole in the ground and placing a container of water or moist vegetation in the center. A plastic sheet is then stretched over the hole and secured with rocks or stakes around the edges. A small weight, such as a stone or a cup, is placed in the center of the sheet to create a funnel shape. The condensed water drips into the weight and is collected in a container below or through a tube that leads outside the pit.
  • Basin still: A basin still is made by using a large shallow container, such as a metal tray or a plastic tub, that is filled with water or moist soil. A plastic sheet or glass pane is then placed over the container and sealed around the edges with tape or glue. A small weight is placed in the center of the cover to create a funnel shape. The condensed water drips into the weight and is collected in a container below or through a tube that leads outside the basin.
  • Box still: A box still is made by using a wooden or metal box that has an open top and a sloped bottom. The box is filled with water or moist soil and covered with a plastic sheet or glass pane that is attached to the top edges of the box. The cover has a small hole in one corner that allows a tube to pass through. The condensed water slides down the cover and flows out through the tube into a separate container.

Why You Should Use Solar Stills

Solar stills have many advantages over other methods of water purification, such as boiling, filtering, or chemical treatment. Some of these advantages are:

  • Solar stills use renewable energy from the sun, which is free and abundant.
  • Solar stills do not require any electricity, fuel, or complex equipment, which makes them ideal for remote areas or emergency situations.
  • Solar stills can produce clean water from various sources, such as seawater, brackish water, contaminated water, or even plants.
  • Solar stills can remove most impurities from water, such as salt, dirt, bacteria, viruses, parasites, heavy metals, pesticides, or organic compounds.
  • Solar stills can also produce distilled water, which is useful for medical purposes, batteries, or cooling systems.

How to Build a Solar Still at Home

Building a solar still at home is easy and inexpensive. You can use materials that you may already have around your house or that you can find in your local hardware store. Here are some steps to follow:

  1. Choose a type of solar still that suits your needs and available materials. You can use any of the types mentioned above (pit still, basin still, or box still) or you can improvise your own design based on the same principles.
  2. Gather your materials. You will need:
    • A transparent cover, such as a sheet of plastic or glass
    • A container for water or moist soil
    • A container for collecting distilled water
    • A tube for transferring distilled water (optional)
    • A weight for creating a funnel shape on the cover
    • Tape, glue, rocks, stakes, or other materials for securing and sealing the cover
  3. Prepare your source of water. You can use any kind of water that is not too dirty or toxic. You can also use moist soil or vegetation that contains moisture. If you are using seawater or brackish water, you may want to add some salt to it to increase its salinity and evaporation rate.
  4. Set up your solar still in a sunny spot. Make sure that your cover is facing south (in the northern hemisphere) or north (in the southern hemisphere) to get maximum exposure to sunlight. Also make sure that your cover is tilted slightly to allow the condensed water to slide down and collect in your container.
  5. Wait for your solar still to produce distilled water. Depending on the size, design, and location of your solar still, it may take several hours or days to produce a significant amount of water. You can check the progress by looking at the droplets on the cover or by measuring the water level in your container. You can also taste the water to see if it is fresh and pure.
  6. Enjoy your distilled water. You can use it for drinking, cooking, washing, or any other purpose that requires clean water. You can also store it in a clean and sealed container for later use.

Conclusion

A solar still is a simple and effective way to produce clean water from various sources using the power of the sun. It can be a lifesaving tool in situations where potable water is scarce or unavailable. It can also be a fun and educational project to do at home with your family or friends. By building and using a solar still, you can learn about the natural water cycle, the properties of water, and the benefits of renewable energy. You can also contribute to the conservation of water and the protection of the environment.

Sunday, August 13, 2023

Using the power of the sun to make tea!


Sun tea is a refreshing and easy way to make iced tea without using any electricity or heat. All you need is a glass container, some water, and your favorite tea bags. Here are some simple steps to make your own sun tea at home:

  • Fill a large glass container with water. You can use any size you like, but a general rule of thumb is to use 8 tea bags per gallon of water. You can adjust the number of tea bags depending on how strong you like your tea.
  • Add the tea bags to the water and close the lid. You can use any kind of tea you prefer, such as black, green, herbal, or flavored. You can also add some fresh fruits, herbs, or spices to infuse more flavor into your tea. For example, you can try adding orange slices and mint leaves, lemon wedges and ginger slices, or peach slices and cinnamon sticks.
  • Place the container in a sunny spot outside for about 3 to 5 hours. The sun will gently warm the water and steep the tea, creating a smooth and mellow brew. You can move the container if needed to keep it in the sun. Avoid placing it in a very hot spot, as this may cause the tea to become bitter or cloudy.
  • Bring the container inside and remove the tea bags. You can also strain out any fruits, herbs, or spices if you used them. Your sun tea is ready to enjoy! You can serve it over ice, sweeten it with sugar or honey, or add some lemon juice for a tangy twist. You can also store it in the refrigerator for up to two days.

I hope this guide helps you make some delicious sun tea this summer. If you want more tips and recipes for sun tea, you can check out these links:

Friday, August 4, 2023

How to Make a DIY Solar Oven: A Beginner’s Guide


How to Make a DIY Solar Oven: A Beginner’s Guide

Cooking with a solar oven is an eco-friendly way to prepare your meals. It’s a great option for those who want to reduce their carbon footprint and save money on energy bills. In this guide, we’ll walk you through the steps of making your own solar oven.


Introduction

What is a Solar Oven?

A solar oven is an oven that uses the sun’s energy to cook food. It works by trapping the sun’s rays and converting them into heat. This heat is then used to cook food.

Benefits of Using a Solar Oven

There are many benefits to using a solar oven. First and foremost, it’s an eco-friendly way to cook your food. You’re not using any electricity or gas, which means you’re not contributing to greenhouse gas emissions. Additionally, solar ovens are easy to use and require very little maintenance.

Brief Overview of the Steps Involved in Making One

Making a solar oven is easier than you might think! Here are the basic steps involved:

  1. Gather your materials

  2. Build the frame

  3. Add insulation

  4. Add reflectors

  5. Add the cooking chamber

  6. Test your oven

In this guide, we’ll go into more detail on each of these steps so that you can make your own solar oven with ease.


Materials Needed


Here’s what you’ll need to make your own solar oven:

  • Cardboard box: This will be the frame of your oven.

  • Aluminum foil: This will be used to reflect the sun’s rays into your oven.

  • Styrofoam insulation: This will help keep the heat inside your oven.

  • Glue: This will be used to hold everything together.

  • Black paint: This will help absorb the sun’s rays and convert them into heat.

  • Plexiglass or tempered glass: This will be used as the window of your oven.

  • Cooking bag or pot: This is what you’ll use to cook your food in.


Each material has a specific purpose in making your solar oven:

  • Cardboard box: This will be the frame of your oven. It should be large enough to hold your cooking bag or pot.

  • Aluminum foil: This will be used to reflect the sun’s rays into your oven. You’ll use it to line the inside of the cardboard box and create reflectors on the sides.

  • Styrofoam insulation: This will help keep the heat inside your oven. You’ll use it to line the inside of the cardboard box.

  • Glue: This will be used to hold everything together. You’ll use it to attach the aluminum foil and Styrofoam insulation to the cardboard box.

  • Black paint: This will help absorb the sun’s rays and convert them into heat. You’ll use it to paint the inside of the cardboard box.

  • Plexiglass or tempered glass: This will be used as the window of your oven. You’ll use it to cover the top of the cardboard box so that you can see inside.

  • Cooking bag or pot: This is what you’ll use to cook your food in. You’ll place it inside the cardboard box.


Building the Solar Oven

Step-by-Step Instructions for Building the Oven

Now that you have all of your materials, it’s time to start building your solar oven! Here are the step-by-step instructions:

  1. Cut a flap in one side of the cardboard box.

  2. Cover the inside of the flap with aluminum foil.

  3. Glue Styrofoam insulation to the inside of the box.

  4. Paint the inside of the box black.

  5. Cover the top of the box with aluminum foil.

  6. Cut two pieces of cardboard and cover them with aluminum foil.

  7. Attach these reflectors to the sides of the box (you can use glue or tape).

  8. Cut a piece of plexiglass or tempered glass and attach it to the top of the box (you can use glue or tape).

  9. Place your cooking bag or pot inside the box.

  10. Close the flap and make sure everything is sealed tight.

Tips for Ensuring the Oven is Built Correctly

Here are some tips for ensuring that your solar oven is built correctly:

  • Make sure all seams are sealed tight with glue or tape. This will help keep heat from escaping.

  • Use plenty of insulation to keep heat from escaping. The more insulation you use, the better your oven will work.

  • Make sure that your reflectors are angled correctly so that they reflect as much sunlight as possible into your oven. You want to make sure that you’re getting as much heat as possible.

Using the Solar Oven

Explanation of How to Use the Oven

Using a solar oven is easy! Here’s how:

  1. Place your food in your cooking bag or pot.

  2. Place your cooking bag or pot inside your solar oven.

  3. Make sure that your oven is facing directly towards the sun.

  4. Adjust your reflectors so that they’re reflecting as much sunlight as possible into your oven.

  5. Wait for your food to cook!


Tips for Getting the Best Results

Here are some tips for getting the best results from your solar oven:

  • Use dark-colored pots and pans (they absorb more heat). This will help your food cook faster.

  • Cut food into small pieces so that it cooks faster. The smaller the pieces, the faster they’ll cook.

  • Cook during peak sunlight hours (usually 11am to 3pm). This is when the sun is at its strongest and your oven will work best.

  • Use a cooking bag instead of a pot (it will cook faster). Cooking bags are designed to absorb more heat than pots and will help your food cook faster.

  • Rotate your oven every 30 minutes to ensure that it’s facing the sun. This will help ensure that your food cooks evenly.

Conclusion

Recap of the Benefits of Using a Solar Oven

In conclusion, using a solar oven is a great way to cook your food while also being eco-friendly. You’re not using any electricity or gas, which means you’re not contributing to greenhouse gas emissions. Additionally, solar ovens are easy to use, don’t require utilities, and require very little maintenance.

We hope that this guide has been helpful in showing you how to make your own solar oven. It’s an easy and fun project that can be done with materials that you probably already have at home. So why not give it a try?

Don’t forget to follow us on social media for more Survival tips and tricks! And be sure to check out our new webpage for more information on how you can reduce your carbon footprint.


Featured

Easy Banana Trees for Gardening Beginners.

  Easy Banana Trees for Gardening Beginners. Introduction Welcome, Gardeners, Preppers, and Homesteaders. Isn’t it amazing how gardening can...